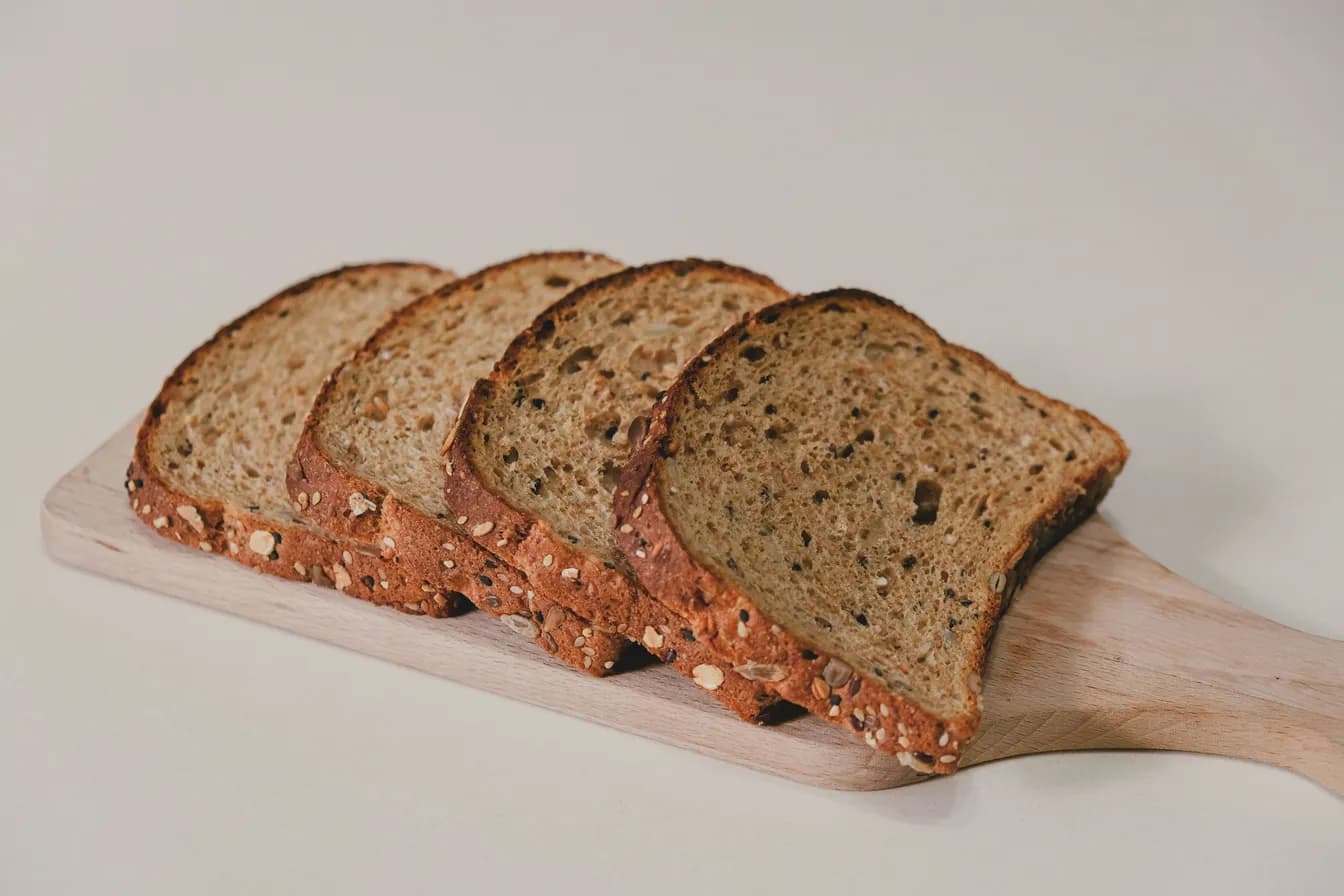
Gluten-Free Bread
Without gluten the structure is missing. Psyllium husks rebuild it, and the dough is intentionally liquid.
- Preparation
- 20 min
- Cook/bake time
- 55 min
- Total
- 6 hr 45 min
- Difficulty
- Medium
- Calories
- 145 kcal
- Servings
- 14 slices
- Prep
- 20 min
- Cooking & baking
- 55 min
- Resting
- 5 hr 30 min
Only 1 hr 15 min of that is hands-on – the rest takes care of itself.
Without gluten the structure is missing. Psyllium husks rebuild it, and the dough is intentionally liquid. Gluten-free bread almost always fails because people treat it like wheat bread by kneading, shaping, and pulling it tight. None of that works. What works is a pourable dough, a loaf pan, and a binder that holds water.
Why this works
Gluten is an elastic protein network that forms during kneading and traps fermentation gases. Without it, the carbon dioxide from the yeast simply escapes upwards, and the bread remains flat. Psyllium husks replace this network in a different way. They bind up to fifty times their weight in water, forming a gel that performs the same task. It holds gas, gives the dough structure, and prevents the bread from crumbling. For this gel to form, the dough must be significantly wetter than a wheat dough. A kneadable gluten-free dough has too little water and turns into a dry brick. Kneading is actually harmful here. There is no network to align, but the gas bubbles that have already formed are destroyed in the process.
Step-by-step instructions
- 1
Trockenes mischen
Verrühr Mehle, Stärke, Flohsamenschalen, Salz und Hefe gründlich in einer großen Schüssel. Die Flohsamenschalen müssen gleichmäßig verteilt sein – ein Klumpen bleibt später als glibberiges Nest im Brot.
- 2
Flüssiges einrühren
Gieß Wasser, Öl, Essig und Zucker dazu und rühr eine Minute kräftig mit dem Löffel. Der Teig läuft danach vom Löffel wie ein dicker Rührteig. So soll er sein.
- 3
Quellen lassen
Lass den Teig zehn Minuten stehen. Er wird sichtbar dicker und lässt sich mit dem Schaber schieben statt gießen. Erst dann trägt er das Brot.
- 4
Teig einfüllen
Streich den Teig mit einem nassen Schaber in eine gefettete Kastenform von 30 cm, glätte ihn und streu die Kerne darüber. Zugedeckt 90 Minuten gehen lassen. Ein Drittel mehr Volumen reicht – er verdoppelt sich nicht wie Weizenteig.
- 5
Brot backen
Heiz den Ofen 30 Minuten vor Ende der Gehzeit auf 220 °C Ober-/Unterhitze vor. Backe das Brot 55 Minuten. Es ist fertig, wenn die Kruste dunkel ist und der Boden hohl klingt. Mit Thermometer: 98 °C in der Mitte.
- 6
Vollständig auskühlen
Nimm das Brot aus der Form und lass es mindestens vier Stunden auf einem Gitter auskühlen. Warm angeschnitten ist glutenfreies Brot immer klitschig – die Krume wird erst beim Abkühlen fertig.
Our best tips
- The dough must be liquid. Anyone who makes gluten-free dough kneadable gets a brick. The psyllium husks need all that water to form their gel.
- Let it cool for at least four hours. Gluten-free bread only finishes binding as it cools. Cut warm, it is always gummy, and that is not a baking error.
- Use ground psyllium husks, not whole ones. Whole ones swell more slowly and unevenly. With the same amount, ground husks bind significantly stronger.
Tasty variations
With sourdough instead of yeast
Replace the yeast with 150 g of gluten-free rice or buckwheat sourdough and reduce the water amount by 75 ml. The rising time doubles to three hours, but the bread stays fresh for two days longer.
Seeded bread
Add 80 g of sunflower and pumpkin seeds as well as two tablespoons of flaxseeds to the dough. Seeds provide structure that gluten-free bread otherwise lacks and make the crumb less crumbly.
Nutrition facts
| Calories | 145 kcal |
|---|---|
| Protein | 3 g |
| Carbohydrates | 28 g |
| – of which sugar | 1 g |
| Fat | 3 g |
| Fiber | 3 g |
Where the 145 kcal come from
per serving
Calculated from the ingredients – how we do it
We add up reference values for every ingredient and divide by the number of servings. These assumptions are baked in:
- Reference values per 100 g – for the raw ingredient, exactly as listed.
- Tinned goods count at drained weight, bone-in meat at purchase weight: you eat about 70 per cent of a chicken thigh and leave the rest.
- Water evaporates as you cook. The energy stays in the pot, the weight does not – so the figure is per serving, not per 100 g of finished dish.
- Anything listed without a quantity – “salt and pepper” – is not counted.
A guide value, not a lab measurement: no two onions weigh the same, and fat content varies from pack to pack.
Frequently asked questions
Is the bread suitable for celiac disease?
The ingredients contain no gluten. Whether the product is suitable depends on cross-contamination. Buckwheat and rice flour often run on equipment that also processes wheat. For celiac disease, only flours with the gluten-free symbol are safe. The ingredient list of a recipe cannot replace that.
Can I substitute the flours?
Within the groups, yes. Rice flour for millet flour, buckwheat for teff, cornstarch for potato starch. What does not work is changing the ratios. The starch provides the airy crumb, the whole grain flours provide flavor and structure. Too much whole grain makes the bread dense.
Why did my bread collapse in the middle?
Overproofing or taking it out of the oven too early. Gluten-free dough has no reserve. If it proofs too long, the gel structure collapses as soon as the heat hits. Ninety minutes and a third more volume are the goal, not doubling.
Comments & ratings(0)
Sign in to rate and comment on this recipe.
You might also like
 Bread & Rolls
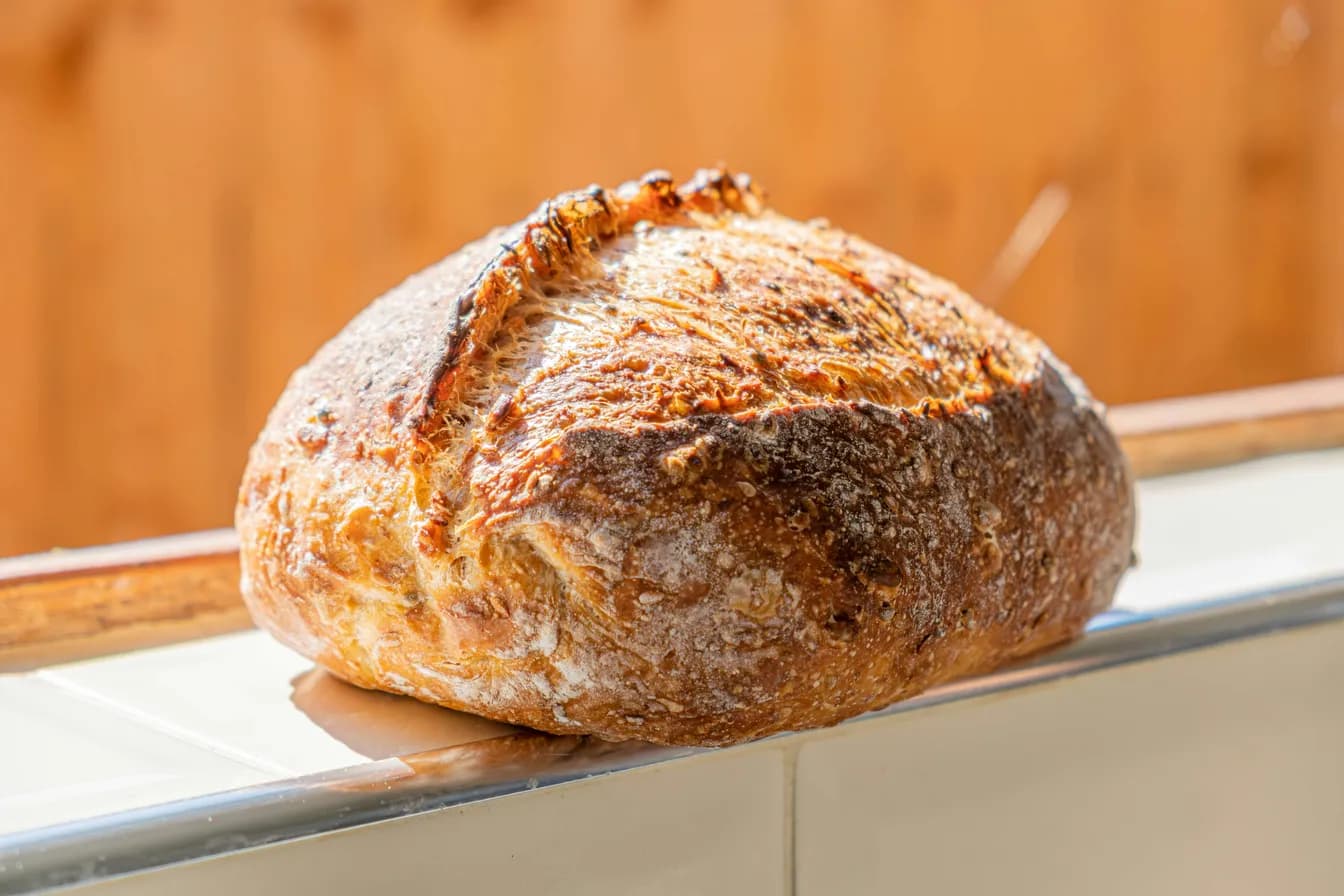
No-Knead Dutch Oven Bread
Twelve hours of time replace ten minutes of kneading, and the Dutch oven replaces the steam oven.
 Basic Recipes
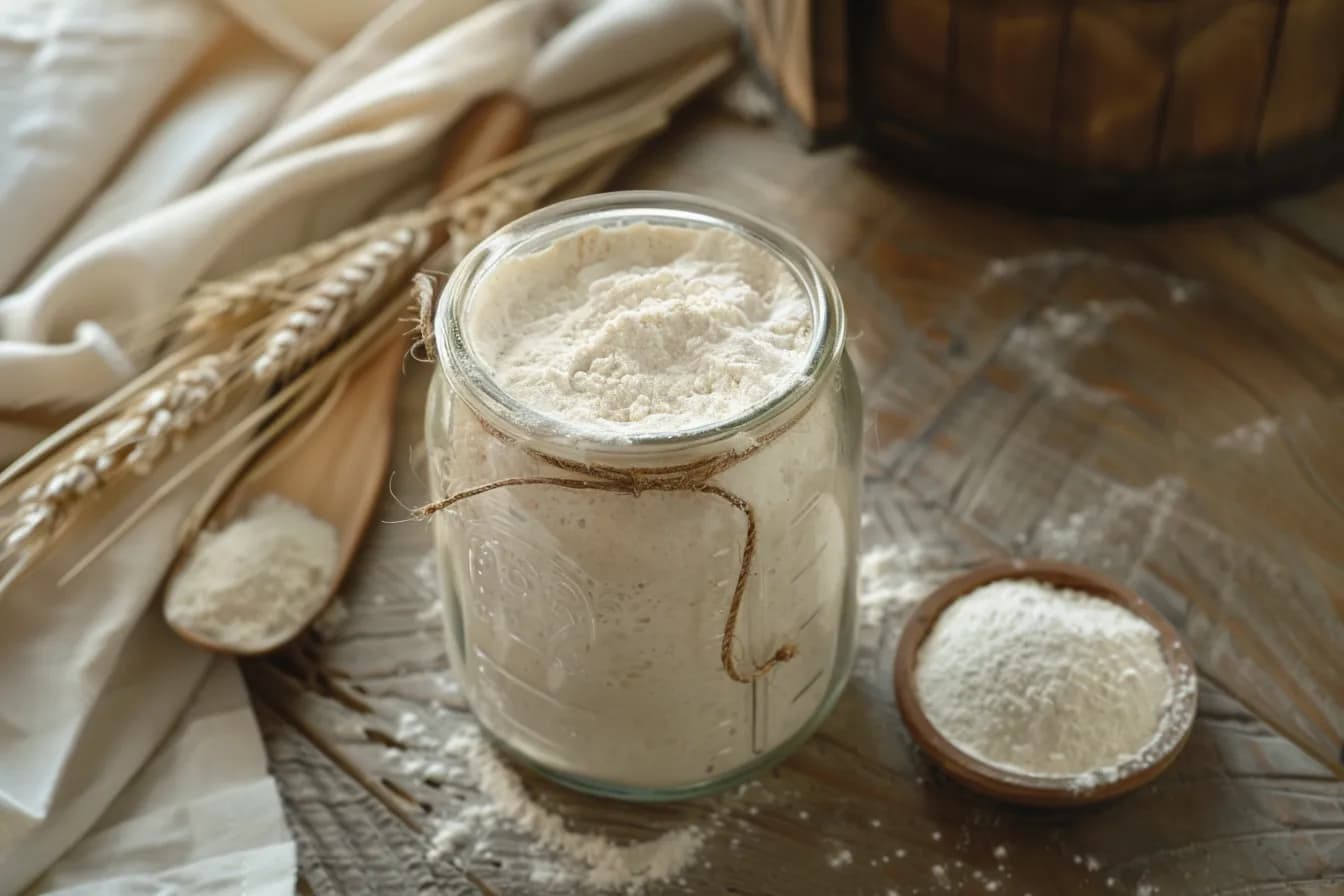
Sourdough Starter
Flour and water, seven days, feeding once a day, that is all it takes.
 Low Carb
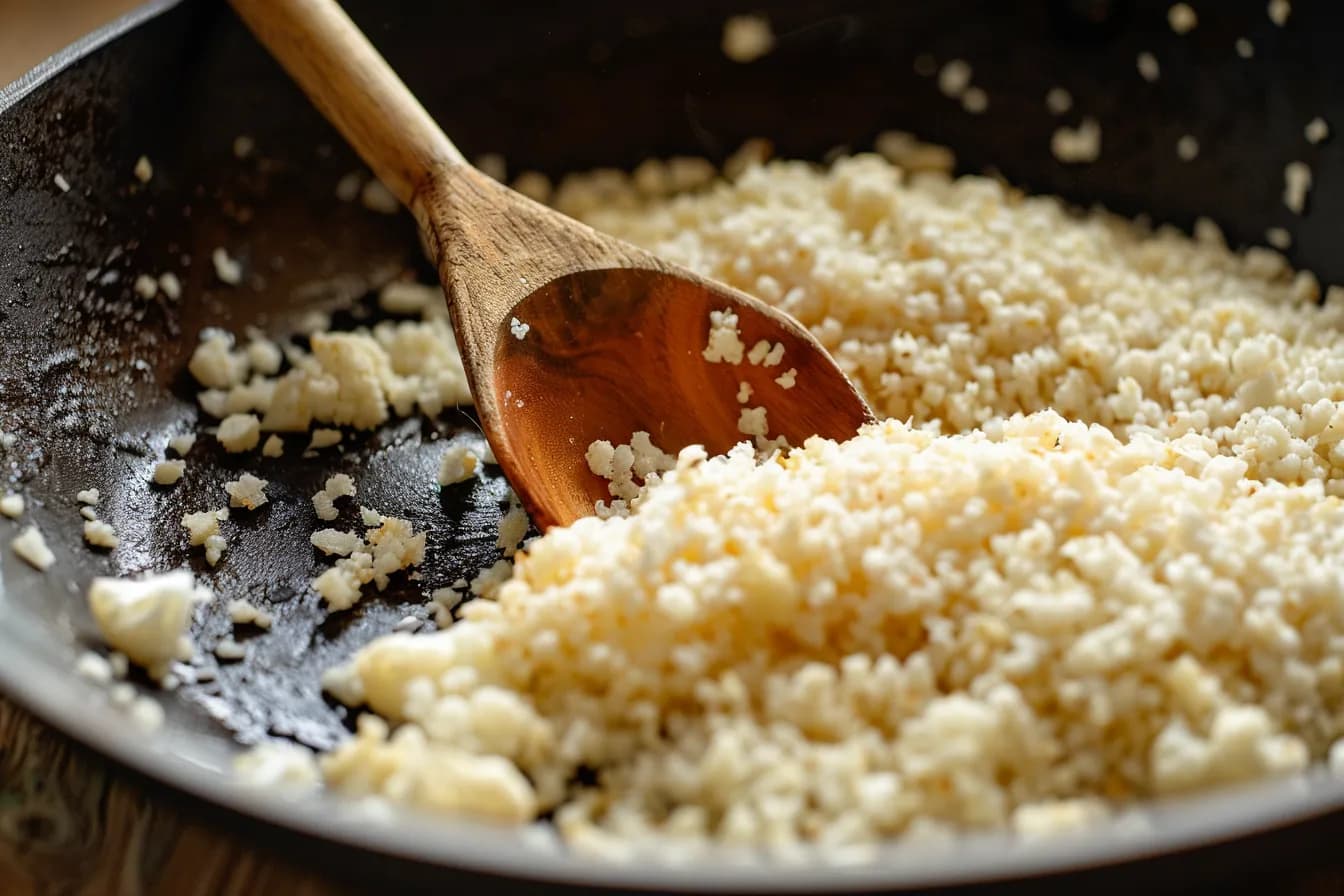
Cauliflower Rice
A rice substitute made from cauliflower with a tenth of the carbohydrates, dry roasted instead of steamed, otherwise it turns to mush.